

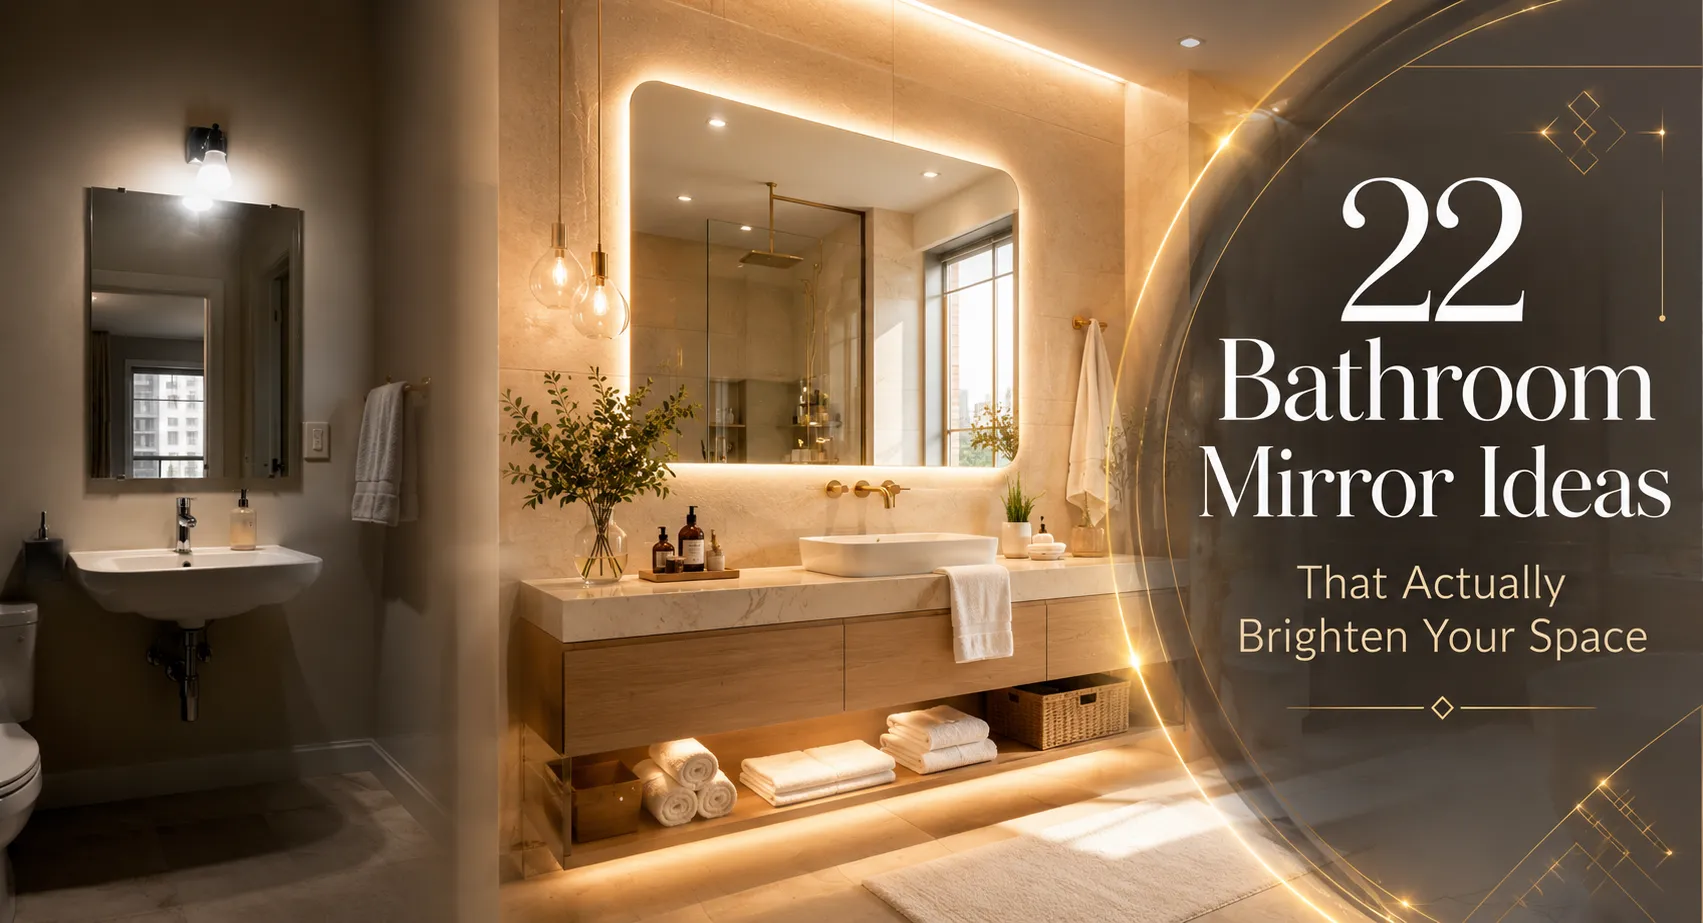
Sed to dread mornings in my old apartment bathroom. One flat overhead bulb, a builder-grade mirror with exposed clips, and walls so dim they made the whole room feel like a basement. I repainted the walls white. I added a little shelf with candles. Nothing worked because none of it fixed the actual problem.
The problem was the mirror setup.
A bathroom mirror isn’t just for checking your reflection. It’s the primary tool your space has for moving light around. Get it wrong, and no number of scented diffusers or fluffy towels will save the room. Get it right and even the smallest, darkest bathroom suddenly feels like somewhere you actually want to spend time.
I’ve broken all 22 ideas into two clear tracks. Let’s fix your bathroom, starting with the one surface that changes everything.
| Quick Definition: Bathroom mirror ideas to brighten your space are strategies that use mirror placement, size, shape, and lighting to amplify natural and artificial light in a bathroom. The right mirror choice can make a small or dark bathroom feel noticeably larger and better-lit without requiring a full renovation. |
1. MirrorChic DIY Peel-and-Stick Frame Overlay
That flat builder-grade mirror on your wall? It doesn’t need to come down. The MirrorChic DIY Mirror Framing Kit is a peel-and-stick frame overlay that adheres directly to the mirror surface, covering the bare clips and exposed edges with a clean decorative trim. It comes in over 60 frame styles, matte black, brushed gold, rustic wood, classic white, and peels off cleanly at move-out.
The transformation is instant. A cheap clip mirror suddenly looks intentional. Renters who’ve used it consistently say it’s the single fastest upgrade they’ve ever made to a rental bathroom, and the one guests notice first.
2. Lean a Large Frameless Mirror Against the Wall
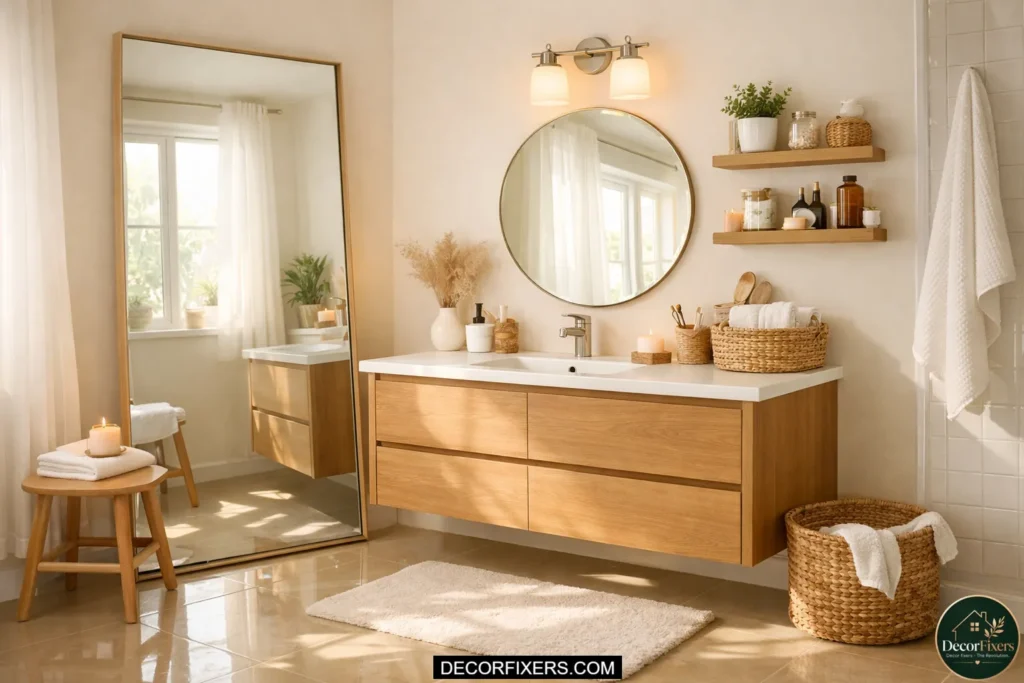
This is the zero-commitment approach that most renter guides skip, and it works beautifully. A large frameless mirror (think 24×36 inches or bigger) leaned against the wall near or beside your bathroom vanity reflects far more ambient light than a small mounted mirror ever could.
IKEA’s NISSEDAL mirror (around $30–$60 depending on size) is specifically designed with a sturdy back stand for this purpose. It doesn’t need to be mounted, doesn’t need anchors, and goes with you when you move.
The key is placement. Lean it at a slight angle so it catches the overhead light and bounces it across the room. Even a 12-inch repositioning can change how bright the space feels.
3. IKEA STORJORM: The Plug-In Medicine Cabinet with Built-In LEDs
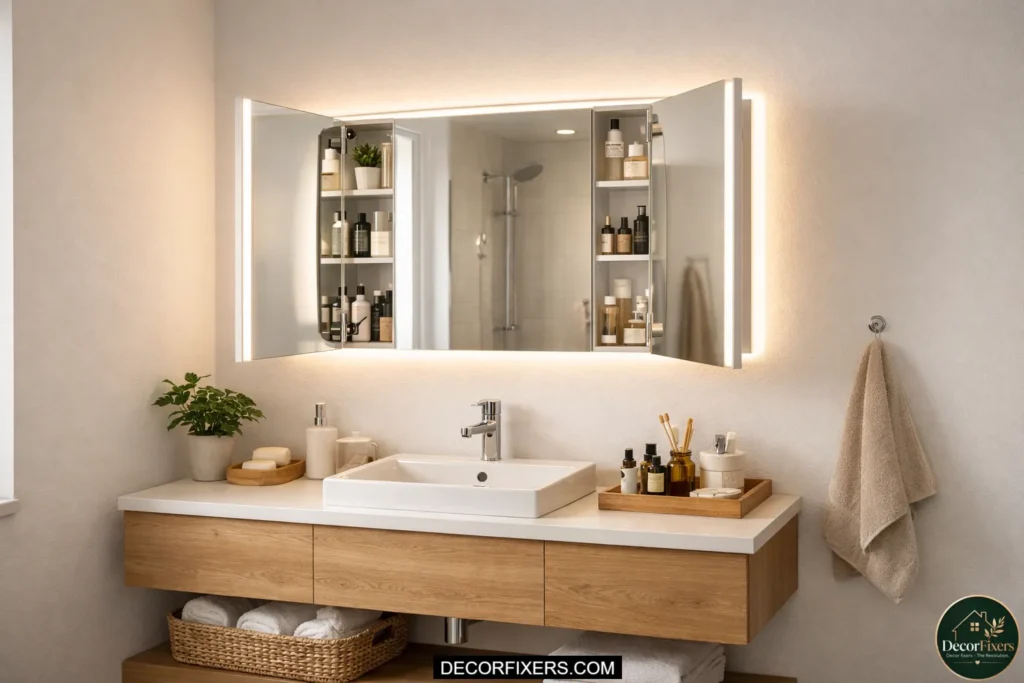
The IKEA STORJORM is one of the best-kept secrets in renter bathroom design. It’s a mirror cabinet with integrated LED strip lighting along the inside edge, and it runs on a standard plug, no wiring, no electrician.
It can be mounted with standard wall anchors (typically allowed in rentals since holes are small and patch easily) or placed on a countertop shelf. The soft, diffused LED glow around the mirror edges acts as genuine vanity lighting, the kind that eliminates under-eye shadows for makeup and skincare routines.
Storage is a bonus. But the real win is finally having face-level light without a single electrical change to the apartment.
4. Battery-Powered LED Strip Lights Around an Existing Mirror
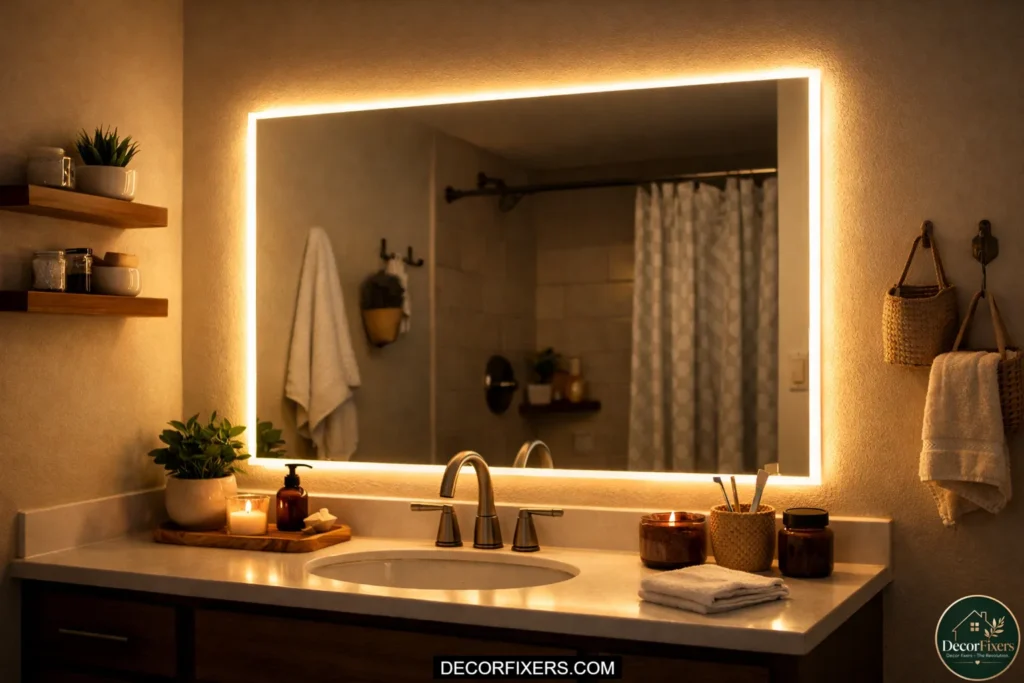
If your bathroom has an outlet near the mirror, plug-in LED strips are the most flexible renter-friendly lighting upgrade available. If it doesn’t, battery-powered LED strips work just as well, especially for occasional-use guest bathrooms.
Attach them along the top and sides of your existing mirror using the peel-and-stick backing. Go for a neutral color temperature (3000-4000K) and a high CRI (90+) to get accurate skin tones for makeup. Most strips are removable cleanly from painted surfaces and tile. They are, as one renter put it, the upgrade that costs $15 and looks like it costs $300.
Deposit safety note: Always test the adhesive backing on a small hidden area of your wall before full installation. Textured paint or flat latex can peel with some adhesives.
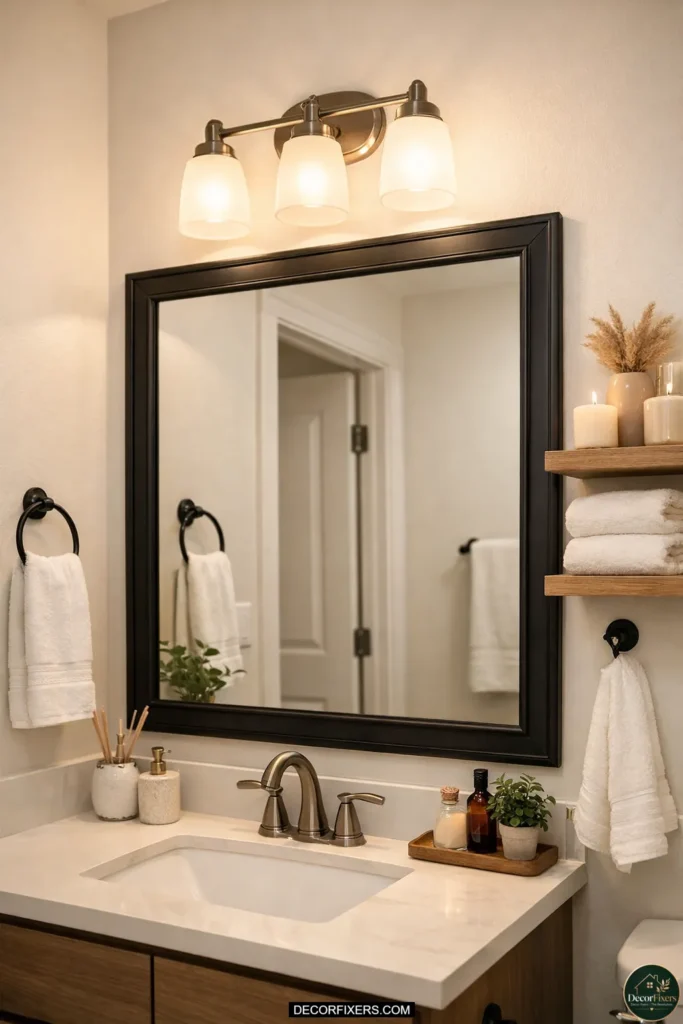
5. Hang a Decorative Round or Arch Mirror with Command Strips
A single decorative mirror beside or above the existing builder mirror does two things: it adds a second reflective surface that moves light into corners, and it introduces a shape that breaks the boring rectangle grid that most builder bathrooms are trapped in.
3M Command Strips rated for 16–20 pounds handle most mirrors up to about 20 inches without touching a drill. The trick is to choose a lightweight mirror; acrylic-backed mirrors are ideal, and to read the weight rating honestly. Overloading a strip is how mirrors fall.
Round and arch shapes are particularly effective because their curves soften the harsh lines of standard bathroom tile and cabinetry, making the room feel warmer and more intentional even before you address the lighting.
6. Place a Tabletop or Countertop Vanity Mirror with Built-In Lighting
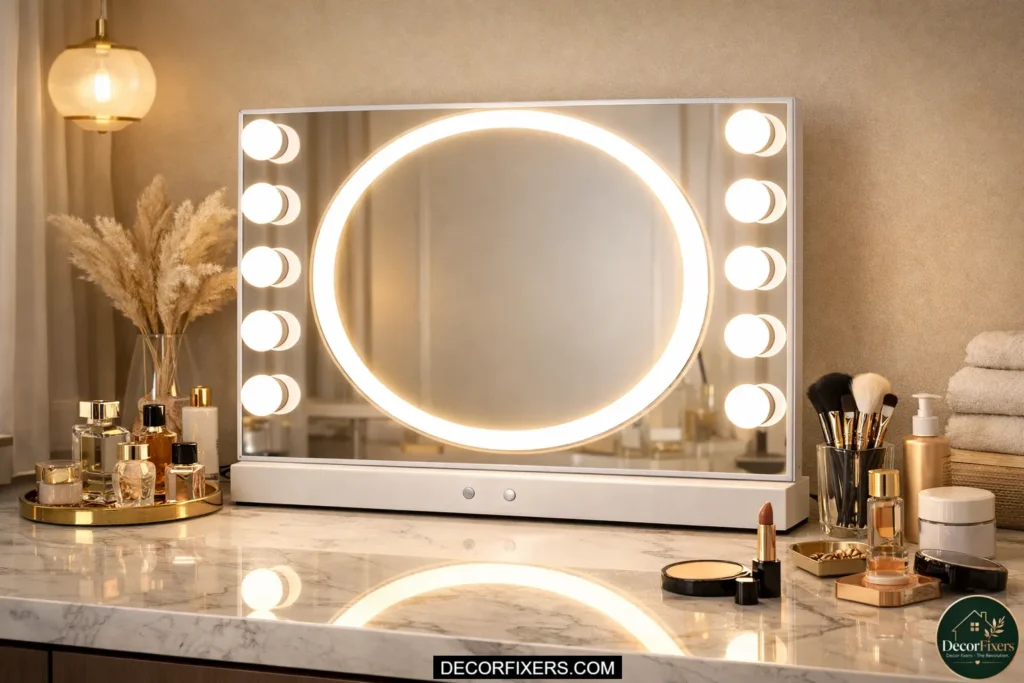
If wall space is the problem, move to the counter. A Hollywood-style or ring-lit tabletop vanity mirror plugs into the outlet you already have and gives you high-quality, face-level light with no installation whatsoever.
This works especially well in bathrooms where the existing mirror is far above the vanity, a common builder-grade problem where the mirror was installed at a height that catches the ceiling rather than your face. A countertop mirror at eye level solves that completely.
Look for models with adjustable color temperature (warm for relaxing, daylight for makeup) and a 1x/5x magnification option on one side. The Conair and Fancied brands both offer solid options under $80.
7. Use an Over-Door Mirror Hook for a Floor-Length Reflection
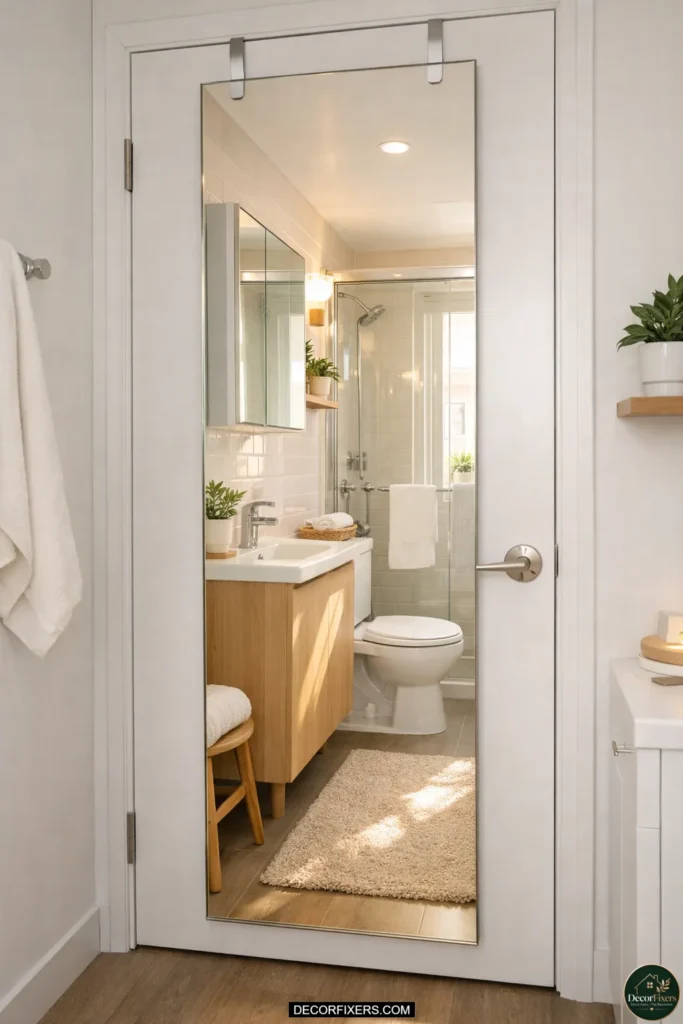
Bathroom doors are underused real estate. An over-door full-length mirror, the kind that hangs from the top of the door frame with a foam-padded hook, adds a second large reflective surface to the room without touching a single wall.
In a small bathroom, a floor-length mirror on the back of the door dramatically expands the apparent depth. Light bouncing between two mirrors creates a visual tunnel effect that genuinely makes a cramped space feel bigger.
Quick note: These work best on doors that open outward or that have enough clearance from the toilet or vanity that the mirror doesn’t bang into anything when the door swings open.
8. Apply Vinyl Geometric Trim or Tape Border to Frame an Existing Mirror
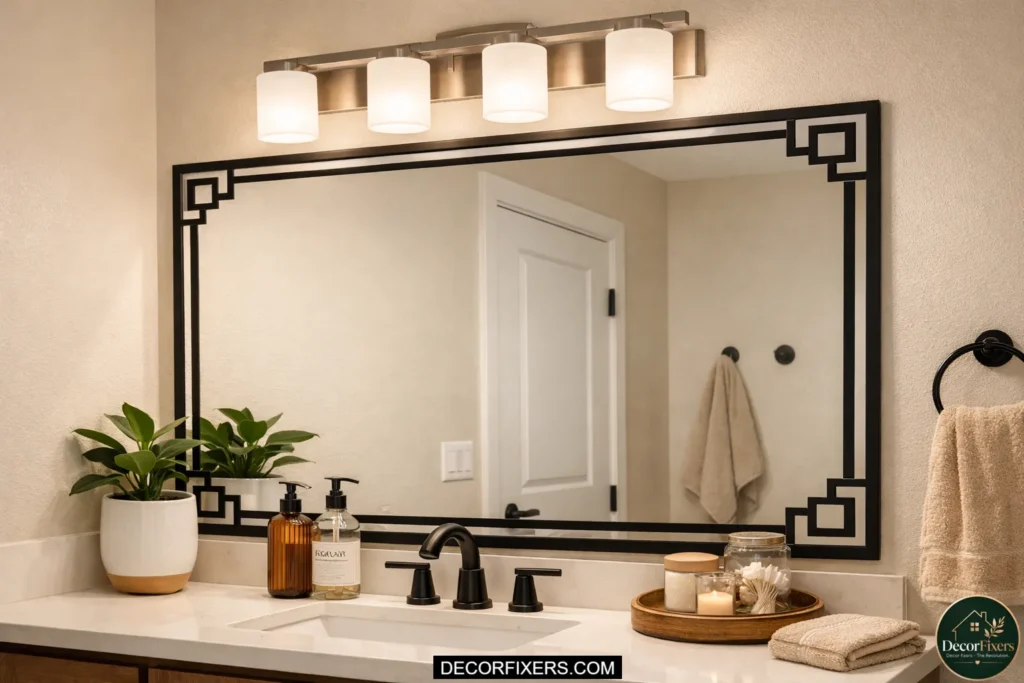
This is the $7 upgrade that went viral. Adhesive vinyl tape or flexible PVC trim applied around the perimeter of an existing builder mirror creates the visual impression of a framed mirror without touching the wall or the mirror mounting.
Black electrical tape applied in a clean rectangular border gives a matte-black frame effect. Metallic vinyl in gold or silver creates a glam vanity look. Flexible PVC trim from Amazon mimics wood or metal molding and adheres with peel-and-stick adhesive.
It’s not permanent. It’s not expensive. And for renters who want a quick Saturday-morning upgrade without spending $100, it’s one of the most impactful-per-dollar options on this entire list.
9. Hang a Sunburst or Scalloped Decorative Mirror as a Light-Bounce Accent
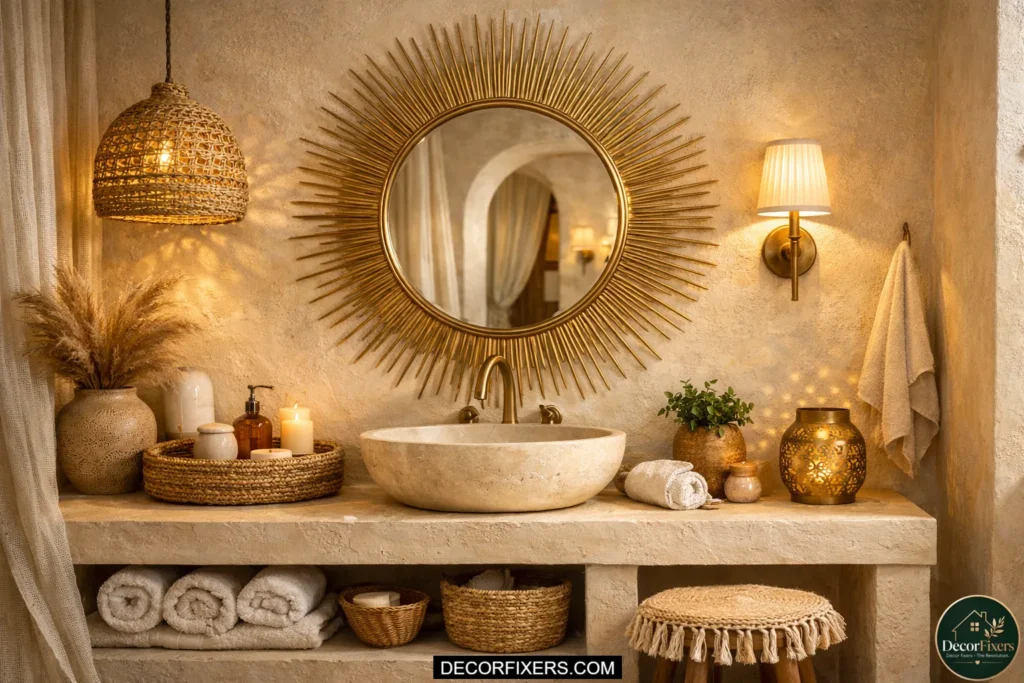
A sunburst or scalloped-edge mirror positioned opposite a light source, whether that’s a window, a vanity bar, or even the overhead light, acts as a light scattering device, not just a reflective surface. The angled petals or scalloped edges catch light at multiple angles simultaneously, creating a warm ambient glow across the room.
These mirrors are typically lightweight (most are under 5 pounds) and hang with a single Command hook or small adhesive strip. They work beautifully in bohemian, coastal, or Mediterranean-styled bathrooms, but a matte black sunburst works just as well in modern spaces.
10. Add a Peel-and-Stick Mirror Film or Mirror Tile Accent Panel
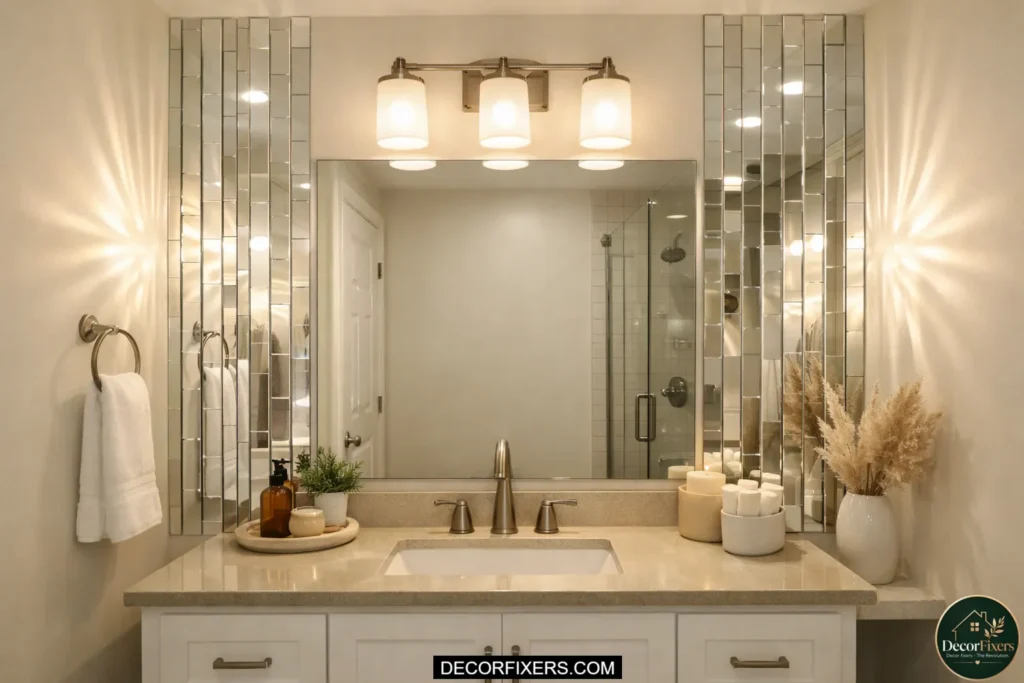
Peel-and-stick mirror tiles and film panels are the most controversial items on this list. I’ve seen conflicting data on their long-term removability; some sources say they peel cleanly after 12+ months; others report adhesive residue on the tile. My read is they work well on painted drywall and most ceramic tiles if you remove them within a year and use a heat gun to soften the adhesive first.
The visual effect is dramatic. A vertical column of mirror tiles beside a vanity doubles the apparent width of the space and creates the kind of light-reflection that usually only comes from custom mirror installations. At $20–$40 for a starter pack on Amazon, it’s an experiment worth trying if you’re willing to test the adhesive first on a hidden corner.
Best for: Renters in their space long-term who want a high-impact visual upgrade without leasing concerns.
11. Position a Freestanding Oval Mirror on a Vanity Shelf or Ledge

If your bathroom has even a narrow floating shelf or ledge above the toilet or beside the sink, a small freestanding oval mirror placed there adds a styled, intentional accent that also bounces light.
This works well as a styling layer above the primary mirror, not as a replacement for it. Think of it the way an interior designer would: multiple reflective surfaces at different heights and angles create a sense of depth and dimension that a single mirror never achieves.
Brass and antique gold frames on oval mirrors are particularly popular for this use in 2026, and they pair beautifully with warm LED lighting for a luxe, boutique-hotel effect.
12. Use a Clip-On LED Mirror Panel Over Your Existing Mirror
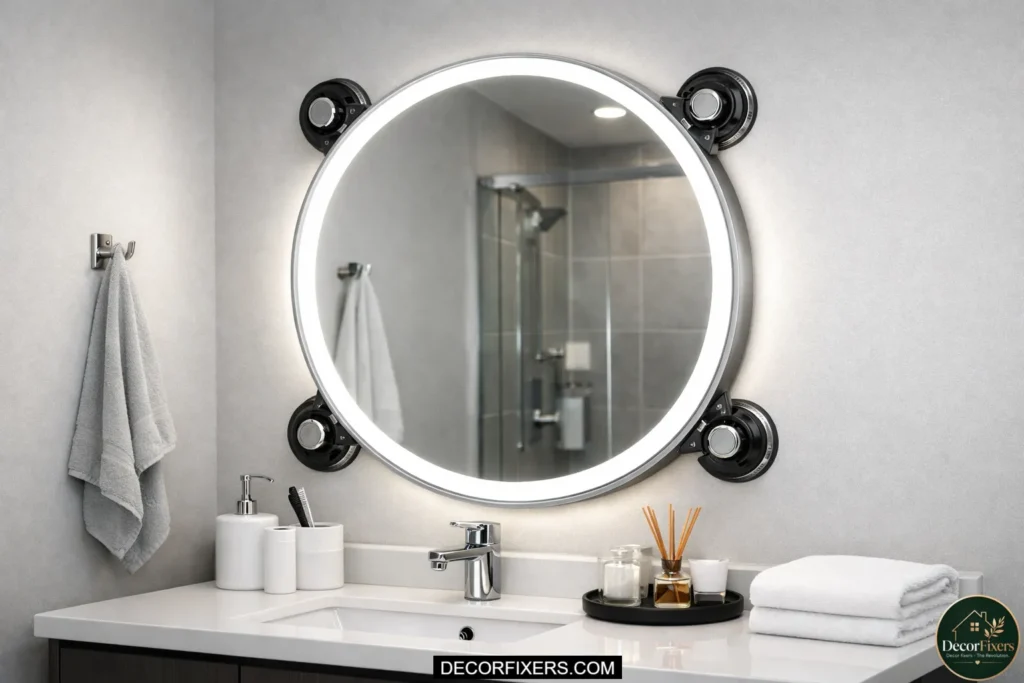
A newer renter-friendly product category has emerged in 2025–2026: clip-on or suction-mounted LED mirror panels that attach directly to your existing mirror face. They sit over the builder mirror using suction cups or spring-loaded clips, add an LED halo or ring light, and plug into a USB outlet or standard socket.
The setup takes about 10 minutes. There’s no adhesive on the wall, no damage to the mirror, and no wiring. At move-out, they lift straight off. For renters who want a true LED backlit effect without installing a new mirror, this is the current best available solution.
Battery life varies by brand, so check reviews carefully for models that claim ‘all-day use’; some drain faster than their specs suggest.
| Add LED Lighting to a Rental Bathroom Mirror. To add LED lighting to a rental bathroom mirror without drilling or wiring: 1. Buy a plug-in or battery-powered LED strip rated for bathroom use (CRI 90+, 3000–4000K). 2. Clean the mirror frame or wall edge with isopropyl alcohol and let it dry. 3. Test the adhesive strip on a small hidden patch of wall first. 4. Peel the backing and press the strip firmly along the top and sides of the mirror. 5. Plug into the nearest outlet. Tuck the cord with adhesive cord clips along the baseboard. |
Quick Note: If you own your bathroom, you have access to a completely different tier of improvement. These ideas involve drilling, hardwiring, or full mirror replacement, changes that aren’t possible for renters but are some of the highest-impact upgrades you can make to any bathroom.
Some experts argue that cosmetic bathroom upgrades are overrated for resale value. That’s valid when the market is cold. But if you’re renovating for daily use, and 59% of mirror upgrade projects in 2025 were motivated by function, not resale, the lived experience of a well-lit, well-mirrored bathroom is hard to put a number on.
13. Install a Hardwired LED Backlit Mirror (Kohler, Krugg, or Similar)
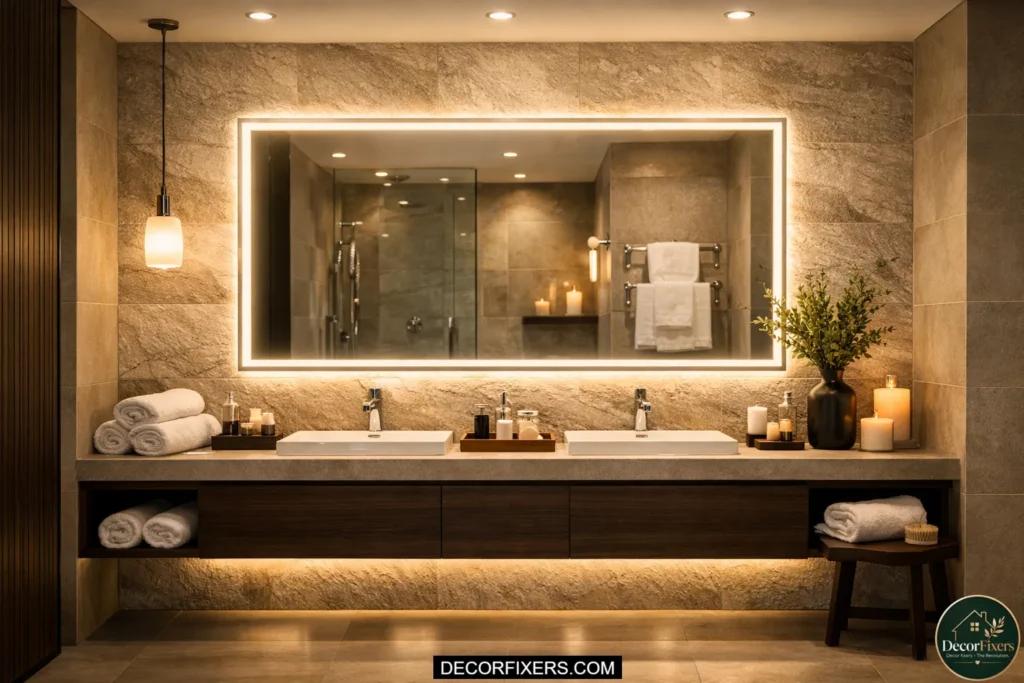
This is the highest-impact single upgrade you can make to a builder-grade bathroom. A hardwired LED backlit mirror, from brands like Kohler, Krugg, or Amorho, replaces your existing mirror entirely and connects directly to your wall circuit. The result is a floating, halo-lit mirror that looks like it belongs in a four-star hotel.
The backlight creates even, shadow-free illumination at face level. Most premium models (Kohler’s Verdera or Krugg’s Blaze series) include anti-fog demister pads, adjustable color temperature (2700K warm to 6500K daylight), and touch-dimmer controls.
Budget for a licensed electrician if there’s no existing outlet behind the mirror location. The total project cost runs $400–$1,200, depending on mirror size and electrical complexity, but the daily upgrade in your morning routine is immediate and lasting.
14. Go Frameless and Full-Width to Maximize Light Reflection
One of the strongest design moves in a small, dark bathroom is to replace a small framed mirror with a full-width frameless mirror that runs edge-to-edge across the vanity. No frame means no visual interruption, the mirror blends into the wall, and the room appears to expand.
Frameless mirrors work because the eye doesn’t register a boundary. The wall just… continues. In bathrooms under 50 square feet, this is one of the few truly structural-feeling upgrades that doesn’t require touching the plumbing or tile.
Custom-cut frameless glass can be ordered through local glass shops for $80–$300, depending on size. Many also offer polished or beveled edge options that add a subtle premium look without a frame.
15. Install a Backlit LED Mirror with Anti-Fog for Daily Use Comfort
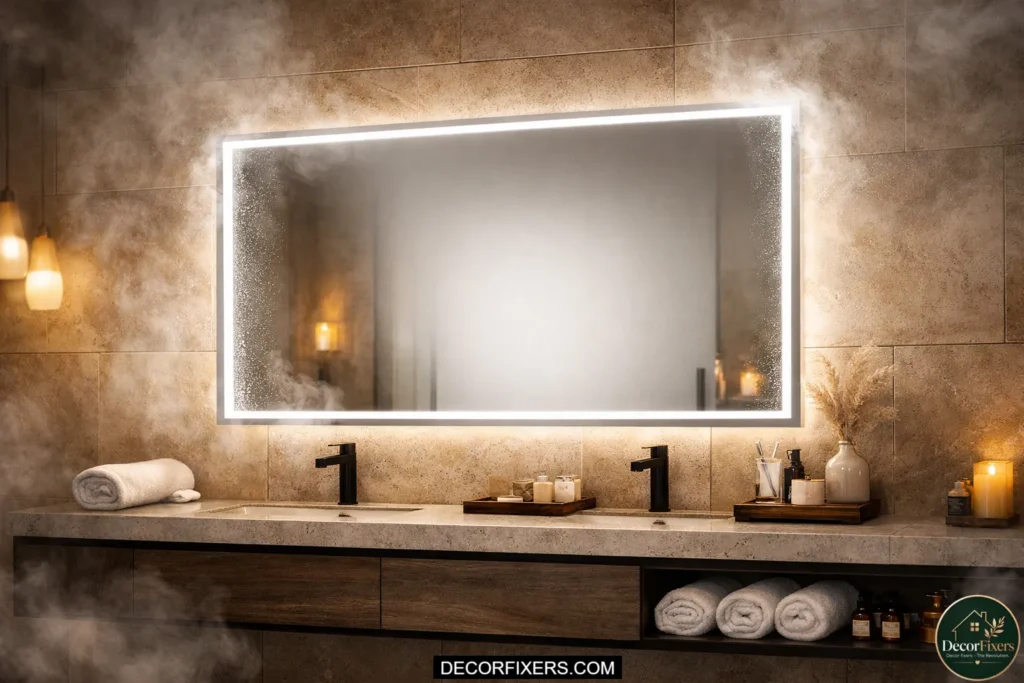
If the hardwired backlit mirror in idea #13 is the premium choice, this is the premium-plus. A backlit mirror with an integrated anti-fog (demister) pad is heated from behind by a low-voltage element that keeps the mirror surface clear during and after showers.
For anyone who does a skincare routine or shaves immediately after a shower, a fogged mirror isn’t just inconvenient; it wastes time every single morning. An anti-fog mirror solves this permanently.
Anti-fog became the second most popular specialty mirror feature in 2025, appearing in 22% of mirror upgrade projects according to Houzz. It’s now standard in most mid-to-premium LED mirror lines and adds roughly $50–$100 to the cost of a comparable non-defogging model.
16. Mount Double Mirrors for a Double Vanity, and Get the Spacing Right
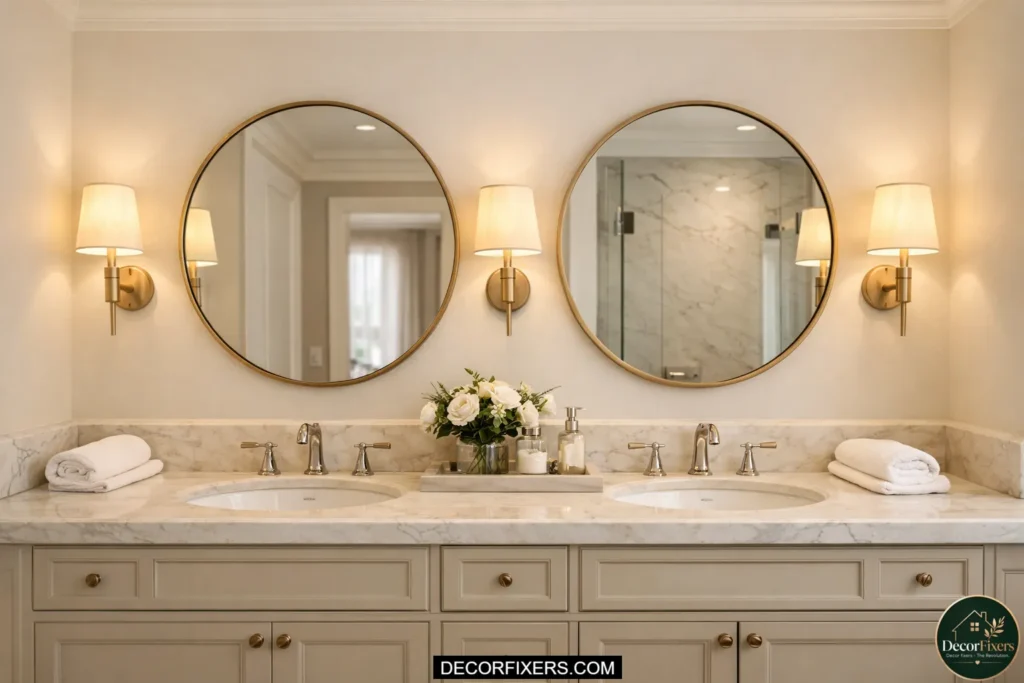
Double vanities with a single wide mirror are one of the most common missed opportunities in bathroom design. Each person at a double sink deserves their own mirror, centered above their sink, so that the lighting is symmetrical and the sight lines are personal.
Two mirrors also double the light-reflective surface area in the room. Place them with 2–4 inches of breathing room between them and align each mirror’s center with the center of its sink. For lighting, flanking sconces beside each mirror (rather than a single overhead bar) give both users shadow-free face light.
The most common mistake: buying two identical small mirrors and mounting them too high. Mirrors should be positioned so that the reflective surface starts at roughly eye level, not halfway up the wall.
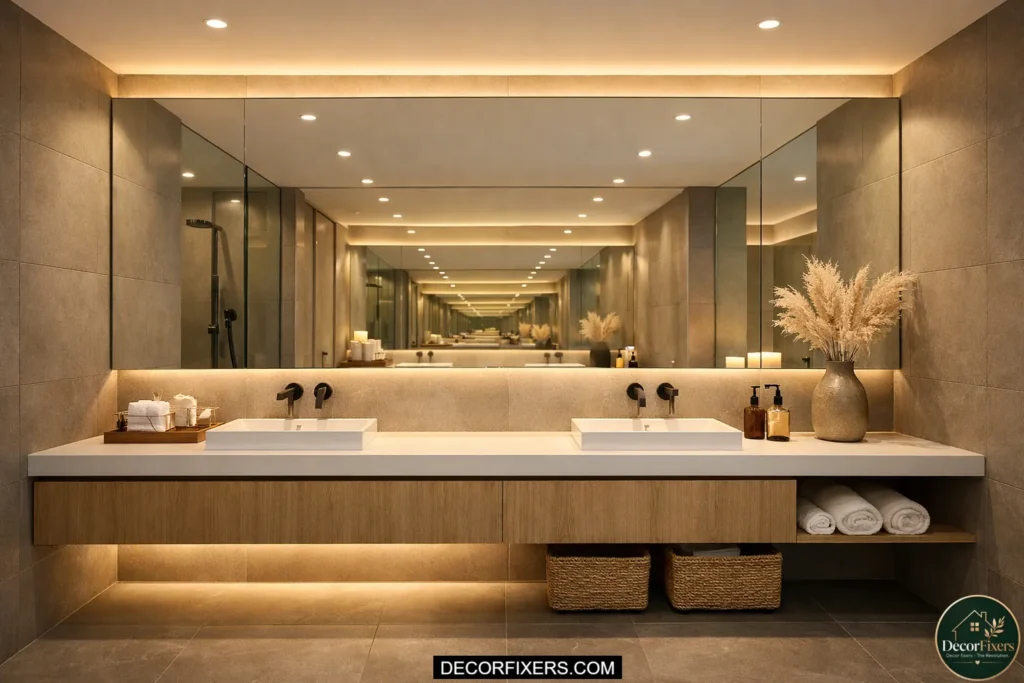
17. Create a Wall-to-Wall Mirror Panel for a Small Bathroom
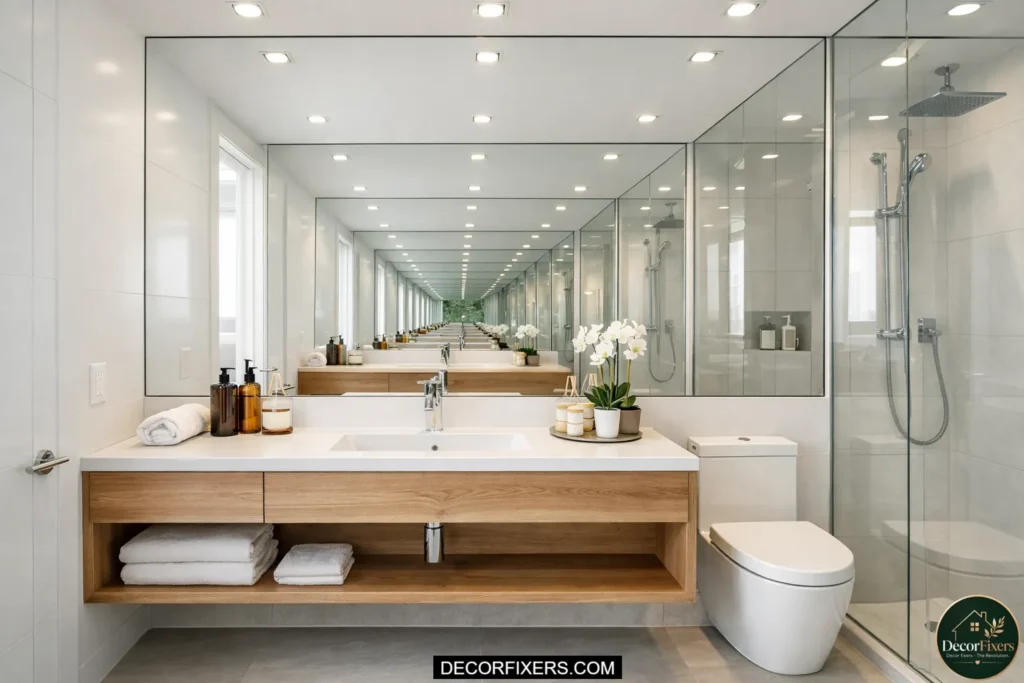
Custom wall-to-wall mirror glass is the nuclear option for dark, cramped bathrooms, and it works better than almost anything else on this list. A mirror that runs the full width of a wall (even just the vanity wall) creates the most dramatic perception of space possible without touching the floor plan.
Light bounces infinitely. The room appears to double in width. Even a windowless bathroom with a single overhead bulb begins to feel workable with this approach.
Installation typically runs $300–$700 for a standard vanity wall through a local glass shop, compared to $1,000+ for contractor-installed tile or wallpaper feature walls. For the light-reflection payoff, it’s arguably the best dollars-per-impact renovation available in a small bathroom.
18. Add a Smart Mirror with Temperature Control and Built-In Display
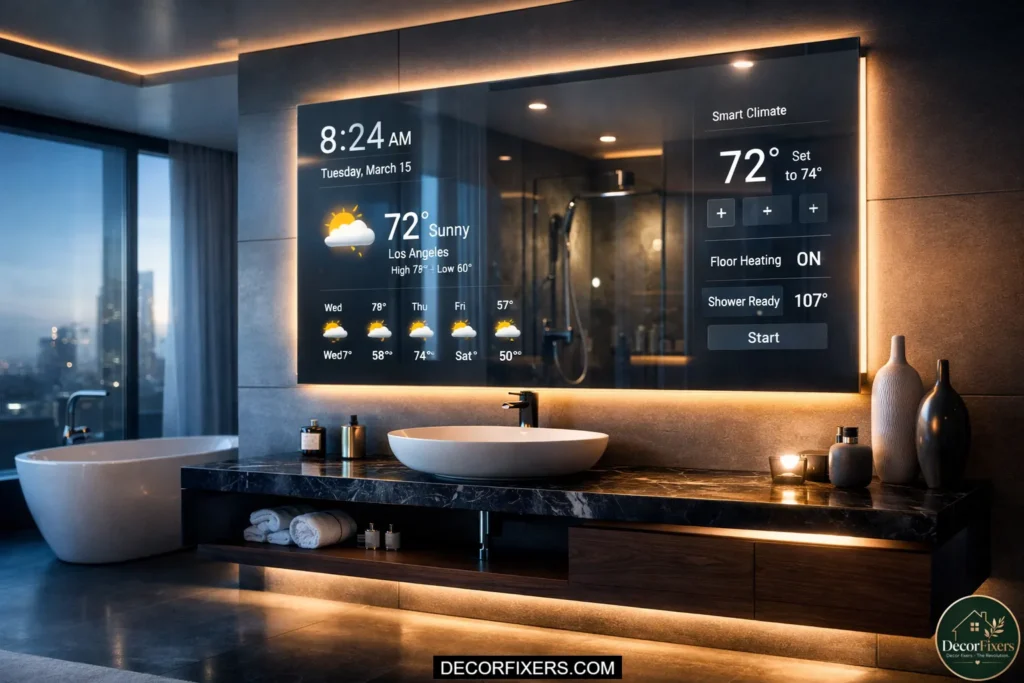
Smart mirrors crossed from luxury novelty to mainstream bathroom feature between 2022 and 2026. They now appear in more than 40% of new luxury home builds, up from roughly 5% five years ago. But even outside of luxury builds, a mid-range smart mirror ($300–$700) is a genuinely useful daily tool.
Voice or touch control for dimming and color temperature, built-in defogging, Bluetooth audio for podcasts or music, and calendar or weather displays are now standard features on brands like Kohler Verdera Voice, BYECOLD, and LED Mirror World. None of these features feels gimmicky once you’ve used them for a week; they just become part of the routine.
The key feature most guides skip: color temperature control. The ability to switch from warm (2700K) candlelight mode in the evening to bright (5000K) daylight mode for makeup is a functionality upgrade that standard mirrors simply can’t match.
19. Install Wall Sconces Flanking Your Mirror Instead of Overhead Bar Lighting

This is a homeowner upgrade that makes an immediate and dramatic difference in every bathroom it’s applied to, and most bathroom renovation guides undervalue it.
Overhead vanity bars create light that falls from above, which is exactly the wrong direction for illuminating a face. Shadows form under the brows, nose, and chin. Side-mounted sconces flanking the mirror at eye level (typically 60–65 inches from the floor to the center of the sconce) create front-facing light that eliminates shadows completely.
Houzz 2025 data shows sconces appearing in 34% of upgraded bathrooms, up significantly from prior years. The installation requires an electrician for new wiring, but if there’s an existing junction box, many homeowners DIY the sconce swap in an afternoon.
20. Replace the Mirror and Add a Recessed Medicine Cabinet for a Clean Look
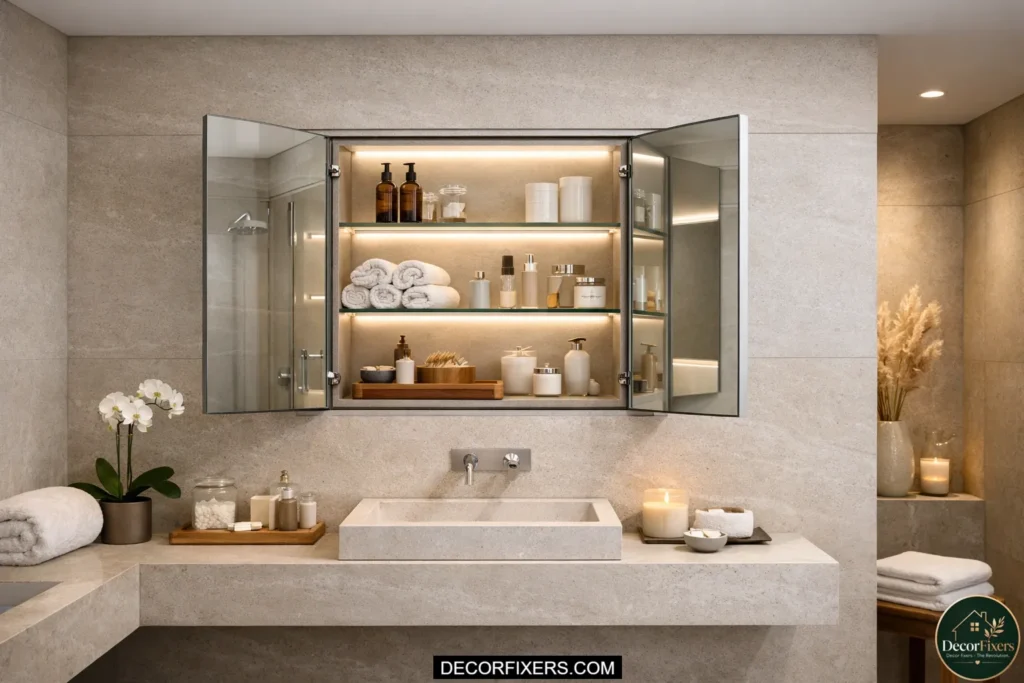
A recessed medicine cabinet takes what’s normally a bulky, protruding storage cabinet and sinks it flush into the wall. The result is a mirror that sits perfectly flat with the wall plane, giving the bathroom a cleaner, more spa-like appearance.
The installation requires opening the wall between studs, which is a contractor or confident DIY job, but the final look justifies the effort. No more depth-interrupting cabinet edge cutting into your visual sight lines. No more bump-out over the sink.
Look for models with integrated LED lighting inside the cabinet (for nighttime visibility without turning on overhead lights) and soft-close hinges. Robern and Kohler both make premium recessed models, and there are solid mid-range options from Kohler and ANZZI in the $150–$400 range.
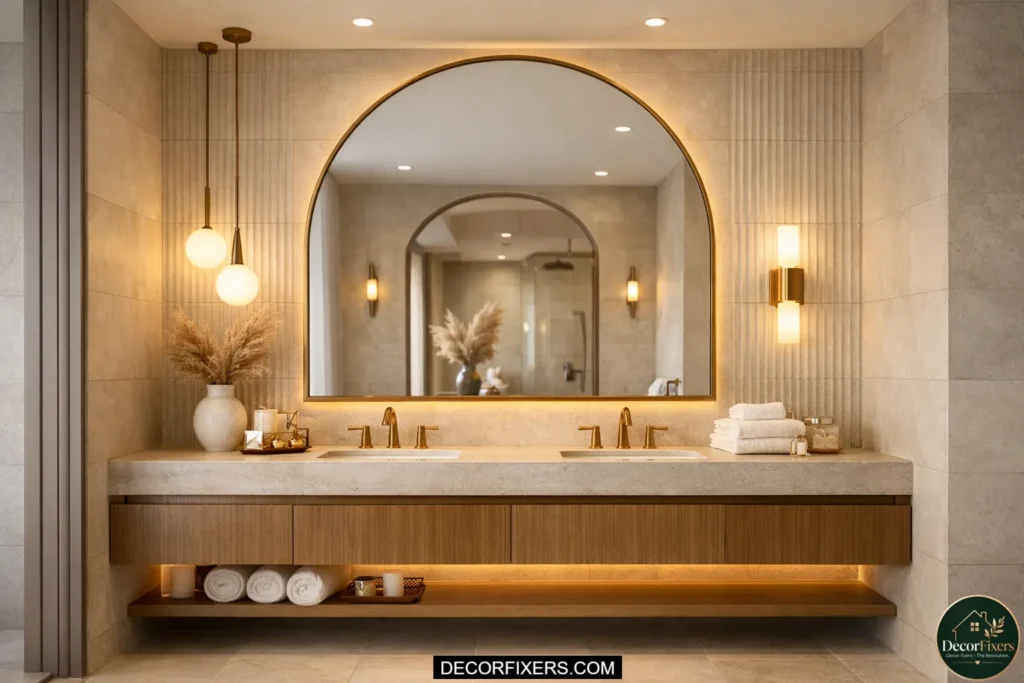
21. Use a Large Arch-Shaped Statement Mirror as a Permanent Focal Point

Arched mirrors are the 2025–2026 design trend that looks like it will stick around, and for good reason. The soft, curved top of an arch introduces an organic shape into a room that’s almost entirely made of right angles. That visual contrast is immediately noticeable and genuinely pleasing to be around.
For homeowners, a large arch mirror (36 inches wide and 48+ inches tall) permanently mounted above a vanity acts as the focal point the room needs. It’s not just reflective; it anchors the space the way a painting would, but with the functional benefit of bouncing light.
Sculpted arch mirrors in clay, resin, or plaster frames are the current high-design version of this. Simpler matte black or brass arch frames work in almost any bathroom style.
22. Install a Copper, Antique, or Aged Brass Framed Mirror for Warmth
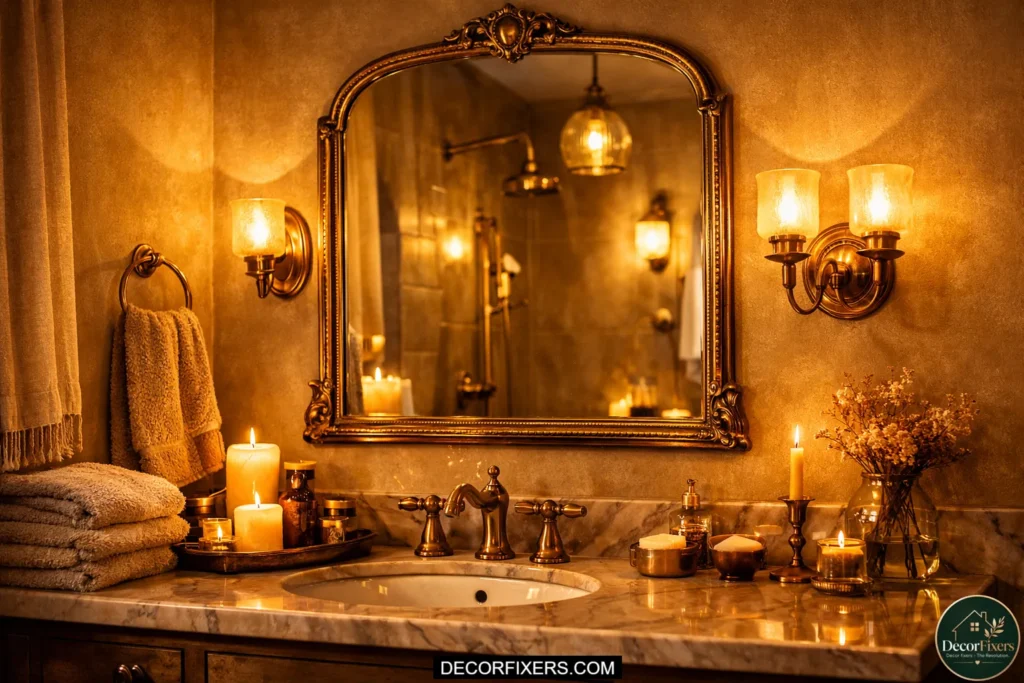
Here’s an idea that isn’t primarily about brightness; it’s about warmth. Cold, dim bathrooms often feel uncomfortable, not because they lack lumens but because the light they have is too blue and harsh. An aged brass, copper, or antique gold-framed mirror introduces warm tones that make existing light feel more flattering and inviting.
This is a permanent mounting upgrade (drill, anchor, level, hang), but the frame style itself does something that no LED strip can: it changes the color temperature of the entire reflected image. Warm metal frames reflect warm light. The room feels cozier.
This works best paired with warm-toned bulbs (2700–3000K) in any fixture. The combination of warm bulbs and a warm-frame mirror creates a bathroom environment that genuinely feels good to spend time in, not just functional, but pleasant.
Quick Comparison:
Use this table to compare the top renter-safe and homeowner mirror upgrade options by situation, benefit, and trade-off.

| Option | Best For | Key Benefit | Limitation |
| MirrorChic DIY Framing Kit | Renters: style upgrade | Peel-and-stick, deposit-safe, 60+ styles | Works on the existing builder mirror only |
| IKEA NISSEDAL / STORJORM | Renters: full mirror swap | Affordable, lightweight, learner-friendly | Requires one wall anchor or a leaning setup |
| Plug-in LED Mirror | Renters: lighting fix | No wiring, cord hides easily, dimmable | Cord management needs creativity |
| Kohler / Krugg Backlit LED | Homeowners: full upgrade | Hardwired, anti-fog, CRI 90+ lighting | Needs a licensed electrician for wiring |
| Frameless Wall-to-Wall Mirror | Homeowners: small dark baths | Maximum light bounce, spa-grade look | Permanent install, higher cost |
| Comparison: Renter-friendly bathroom mirrors vs. homeowner upgrades: Renter options (plug-in LED mirrors, peel-and-stick frames, Command-strip mirrors) deliver strong results with zero wall damage and are fully reversible. Homeowner upgrades (hardwired LED backlit mirrors, wall-to-wall frameless panels, anti-fog smart mirrors) deliver higher visual impact and long-term durability. The key difference is permanence; renters optimize for reversibility, homeowners optimize for performance. |
| What is the best renter-friendly bathroom mirror upgrade? For renters, the highest-impact deposit-safe upgrade is a plug-in LED mirror (such as those available on Amazon or from IKEA’s STORJORM line) combined with a MirrorChic peel-and-stick frame overlay on the existing builder mirror. Together, these two changes solve both the lighting problem and the aesthetic problem without any drilling, wiring, or landlord permission. |
The Biggest Mistakes People Make When Upgrading Bathroom Mirrors
What most guides skip: the reason most mirror upgrades underperform has nothing to do with the mirror chosen and everything to do with the mistakes made before hanging it.
Mistake 1: Hanging too high. The center of your mirror should be at or near eye level for the primary user, typically 57–65 inches from the floor. Mirrors hung too high, catching theing the ceiling, not the face.
Mistake 2: Going too small. A mirror that’s narrower than your vanity looks awkward and reflects less light. The standard rule: the mirror should be 2–4 inches narrower than the vanity, not significantly less.
Mistake 3, Choosing a cool white LED (6500K), thinking it’s ‘brighter.’ Cool white light is harsher and makes the room feel clinical, not brighter. Neutral white (3500–4000K) is the sweet spot for bathroom mirror lighting.
Mistake 4: Ignoring ventilation. Even a gorgeous LED mirror will start to show edge fogging and backing deterioration if your bathroom has poor ventilation. Run your exhaust fan during every shower and leave it on for 10–15 minutes after.
Mistake 5: Not testing adhesive products first. This applies to renters specifically. Adhesive hooks, strips, and borders behave very differently on textured paint, eggshell, tile, or flat latex. A 30-second test patch on an inconspicuous area saves your deposit.
| How can I make my bathroom look bigger with mirrors? Use the largest mirror your vanity wall allows, ideally frameless and full-width. Position it to reflect the primary light source in the room. A second mirror on an adjacent or opposite wall amplifies the effect. For renters, a large leaning mirror (IKEA NISSEDAL) beside the vanity achieves a similar visual expansion without any installation. |
Conclusion:
I started this piece by telling you about that dark apartment bathroom. Here’s where it ended up: I bought the IKEA STORJORM and plugged it in. I applied a MirrorChic matte-black frame to the builder mirror that was already there. And I picked up a set of warm-toned LED peel-and-stick strips for about $18 to run along the top of the builder’s mirror.
Total cost: under $130. Total time: one Saturday afternoon.
The bathroom felt like a completely different room. Not because I added a diffuser or bought better towels, but because the light finally worked. The mirror finally reflected it where it needed to go. The shadows under my eyes in the morning were gone. The space felt, for the first time, intentional.
That’s the thing about bathroom mirror ideas that actually work: they’re not aesthetic gestures. They’re functional fixes that happen to look beautiful. Whether you rent or own, whether your budget is $30 or $1,200, there’s a mirror upgrade on this list that will genuinely change how you feel in your bathroom every single morning.
Start with the brightness. Start with the mirror. Everything else can wait.
FAQs:
Here are the questions people actually ask out loud, with direct answers.
Q: What’s the best bathroom mirror for a small dark space?
A: A large frameless mirror or a backlit LED mirror is the best choice for a small, dark bathroom. The frameless design maximizes reflective surface without adding visual bulk, while the backlit LED adds face-level light that no overhead fixture can replicate. For renters, a leaning frameless mirror plus a plug-in LED strip achieves 80% of this effect.
Q: How do I add lights to my bathroom mirror without wiring?
A: Use peel-and-stick LED strip lights with USB or plug-in power. Apply them along the top and sides of the existing mirror. Choose 3000–4000K color temperature and CRI 90+ for accurate lighting. Battery-powered strips work if no outlet is nearby, but they need regular recharging. Clip-on LED panel overlays are a newer, cleaner renter option.
Q: Should I get a frameless or framed bathroom mirror?
A: Frameless mirrors make rooms feel larger and more modern, ideal for small bathrooms. Framed mirrors add design definition and personality, better suited for bathrooms with a strong style theme (farmhouse, Art Deco, traditional). For pure light-maximizing performance in a dark room, frameless wins every time.
Q: Why does my bathroom still look dark after adding a light?
A: Because the mirror isn’t doing its job. A single overhead light without a large enough mirror to bounce and distribute that light creates isolated brightness, not room brightness. Upgrade the mirror size first, then optimize the light source. This sequence consistently delivers better results than the reverse.
Q: When should I hire an electrician for a bathroom mirror upgrade?
A: Any time a mirror needs hardwiring, meaning it requires a direct connection to your home’s electrical circuit rather than a plug-in outlet. This includes most premium backlit LED mirrors, anti-fog mirrors with demister pads, and smart mirrors. In bathrooms, electrical work must use GFCI-protected circuits. Always hire a licensed electrician for new wiring in a wet zone.

Creator of DecorFixers, sharing practical home and interior ideas focused on real-life usability, simple design improvements, and budget-friendly solutions.
2 thoughts on “22 Bathroom Mirror Ideas: That Actually Brighten Your Space, Renter-Safe & Homeowner Upgrades”